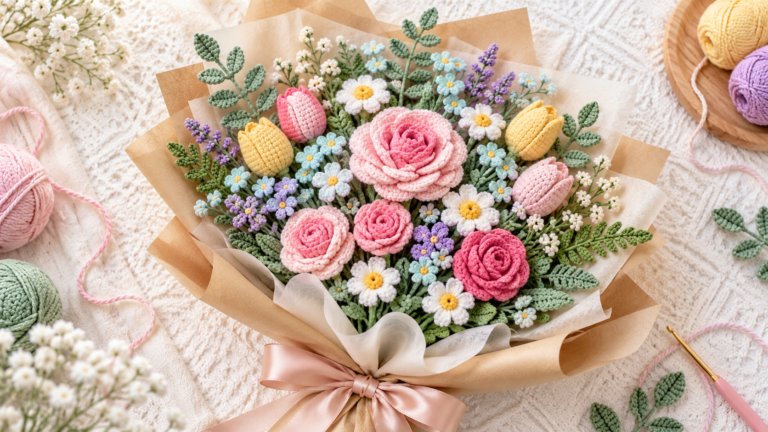
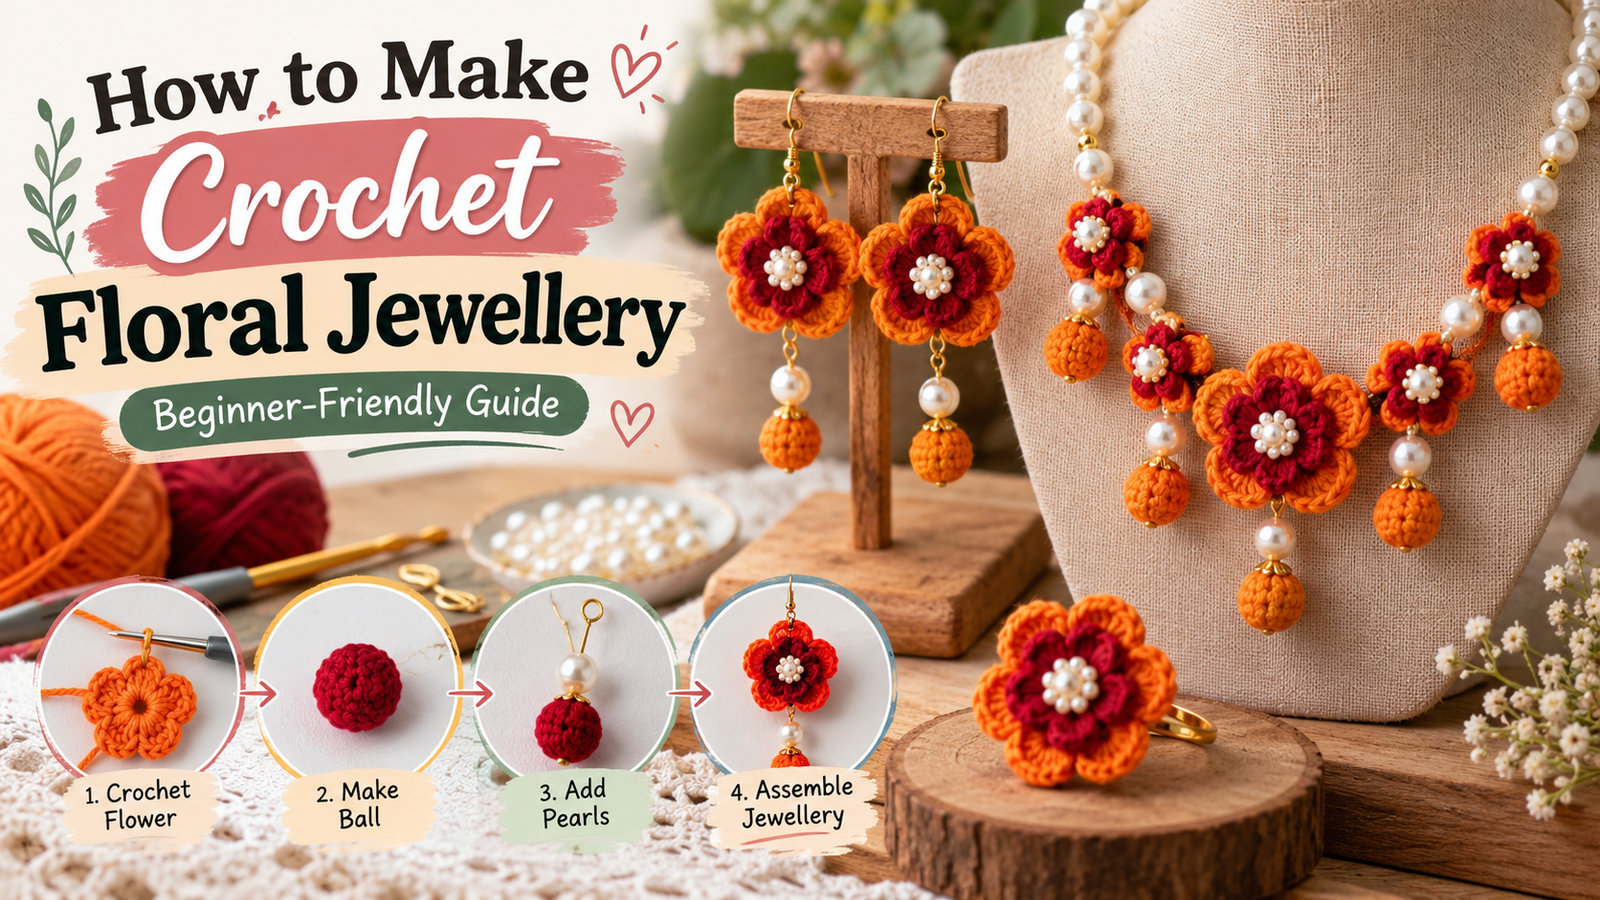
A crochet flower bouquet is an arrangement of flowers, leaves, and stems made from yarn or thread instead of fresh petals. Each bloom is crocheted separately, attached to a stem, and then gathered into a bouquet. The result looks like a florist’s bunch, but it never wilts.
These bouquets are popular because they are handmade, personal, and long-lasting. They work as gifts for birthdays, anniversaries, and Mother’s Day, and as everyday décor on a shelf or desk. Crocheters also like that the project is flexible: you choose the colors, the flower types, and how full the bouquet looks.
In this guide you’ll learn how to make a crochet flower bouquet from start to finish. We’ll cover the supplies, a step-by-step process, tips for a natural look, common mistakes, and answers to frequent questions. This is a general guide, so you can use it with any flower pattern you like.
What Is a Crochet Flower Bouquet?
A crochet flower bouquet combines several small crochet projects into one display. You make individual flowers and leaves, give each one a stem, and group them together. Understanding this structure makes the whole project feel less intimidating, because you only ever work on one small piece at a time.
Why Crochet Bouquets Are Popular for Gifts and Décor
Fresh flowers last a few days, while a crochet bouquet can stay on display for as long as you like. It also carries a personal touch, since you pick the colors and flowers for the person receiving it. Many people give them for occasions where a keepsake feels more meaningful than a short-lived bunch.
What Skill Level Do You Need?
If you can make a magic ring, a chain, single crochet, and double crochet, you can make simple flowers. Many free beginner patterns for flowers like daisies and basic roses use only these stitches. Assembly (wire, leaves, arranging) needs patience more than advanced skill. Start with two or three easy flowers before you commit to a large bouquet.
What You Need Before You Start
Supplies vary by pattern, so always check your chosen pattern’s materials list. The basics below apply to most bouquets.
Yarn and Hook
Choose yarn in the colors you want for petals, centers, and leaves. Many flower patterns specify a yarn weight and hook size, and you should follow your pattern rather than guessing. Smaller hooks usually give a tighter fabric that holds its shape better, which is helpful for petals. Keep a few green shades on hand for leaves and stem wrapping.
Stems, Wire, and Finishing Supplies
Most crocheters use thin floral wire for stems so the flowers stand upright. You will typically also want:
- Wire cutters or old scissors for the wire
- A yarn needle for sewing parts together
- Green yarn or floral tape to cover the wire
- Craft glue or a hot glue gun, used carefully
- Ribbon, kraft paper, or fabric to wrap the finished bouquet
- Optional stuffing for rounder, 3D flowers, if your pattern calls for it
How to Make a Crochet Flower Bouquet Step by Step
Here’s what we’ll cover:
These steps follow the order most makers use, from planning through finishing. Let’s go through each one.
Step 1: Plan Your Colors and Flower Mix
Decide the mood before you pick up your hook. A soft pastel bouquet feels very different from one with bold reds and yellows. A simple approach is to choose one main flower, one or two supporting flowers, and a filler, plus green for leaves. Having a plan prevents mismatched sizes later.
Step 2: Choose a Tested Flower Pattern
Pick patterns from designers who show clear photos and list their materials and stitch counts. Beginners often do well with daisies, simple roses, and small filler flowers. Make a single test flower first. If it looks too large or loose, try a smaller hook before making the rest.
Step 3: Crochet the Flowers and Leaves
Work through your pattern and make all the flowers you planned. Weave in loose ends as you go, because they are harder to hide after assembly. Make a few extra leaves, since leaves help fill gaps and hide the join between flower and stem. For a fuller look, make flowers in slightly different sizes.
Step 4: Prepare the Stems
Cut the floral wire to your preferred length, remembering that you will trim the stems later. Many makers cover the wire with green yarn, wrapping it in tight, even spirals and securing the ends with a small dab of glue. You can also use floral tape. Fold over the wire tips so there are no sharp ends.
Some patterns suggest crocheting the stem directly around the wire. Whichever method you use, keep sharp wire ends away from the finished piece. If you are making a bouquet for a young child, consider leaving out wire altogether, as some designers recommend for toys.
Step 5: Attach Flowers and Leaves to the Stems
Attach each flower head to the top of a stem by sewing, wrapping, or gluing, depending on your pattern. Secure it firmly, since a wobbly flower head is the most common problem in finished bouquets. Then attach leaves a little way down the stem, either singly or in pairs. Test each flower by gently tilting it to check it holds.
Step 6: Arrange the Bouquet
Lay the finished flowers on a table and experiment before binding anything. Place the largest bloom near the center and arrange smaller flowers around it. Stagger the heights so the flowers don’t all sit in one flat line. Add fillers last, tucking them into gaps.
Step 7: Wrap and Finish
Gather the stems together at the point where you want to hold the bouquet. Tie them tightly with yarn or a strip of fabric, then trim the stems to the same length if you want an even base. Wrap the bouquet in paper, fabric, or ribbon and finish with a bow. You can also place the stems in a small pot or vase as a display piece.
Practical Tips and Common Mistakes
A few small habits can make your bouquet look polished and professional.
Tips for a More Natural-Looking Bouquet
- Vary the heights. Cut some stems shorter than others.
- Mix flower sizes. Real bouquets have large, medium, and small blooms.
- Use more than one green. Different shades of leaves add depth.
- Keep tension even. Consistent stitches give petals the same size and shape.
- Make test flowers. A trial flower saves yarn and frustration.
Mistakes to Avoid
- Skipping the test flower, then discovering the size is wrong after making a dozen.
- Leaving wire ends exposed. Fold and cover them so they can’t scratch or snag.
- Overcrowding the bouquet. Too many flowers can look heavy and hide the shapes.
- Rushing the assembly. Take your time with attaching, because this is where bouquets succeed or fail.
- Not checking the pattern’s yarn and hook recommendation. Different yarn weights change the finished size a lot.
Frequently Asked Questions
Is a crochet flower bouquet hard for beginners?
Not if you choose simple flowers. Beginners can start with basic daisies or small roses and build confidence. The assembly takes patience, but it uses straightforward steps.
Do I need floral wire?
You don’t have to, but wire helps the stems stand upright. Without it, flowers tend to droop. If the bouquet is for a young child, you may prefer to skip the wire and use a softer stem option.
How many flowers make a full bouquet?
It depends on flower size and how full you want it. Smaller flowers need more stems to look full, while large blooms fill space quickly. A good approach is to arrange your first few flowers and add more until you like the shape.
How do I keep a crochet bouquet looking good?
Display it away from direct sunlight and dust where possible, and handle it gently. Check your yarn label for care instructions, as fibers vary, and spot-clean carefully rather than soaking the whole piece.
Conclusion
To make a crochet flower bouquet, plan your colors, choose a tested flower pattern, crochet the flowers and leaves, prepare sturdy stems, attach everything securely, arrange the blooms, and wrap the finished bunch. Each step is simple on its own, and the project grows one small flower at a time.
Start with a few easy flowers, test your sizes, and enjoy the process. If you would rather give or display a finished piece, you can browse the Home Decor collection at The Pure Handmade, including the Handmade Crochet Flower Bouquet with Jute Pot. If you have a particular color scheme in mind, you can also get in touch about a custom order.